
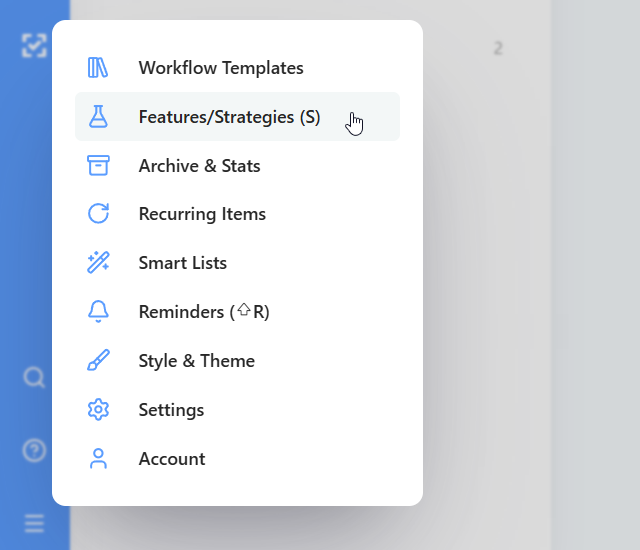
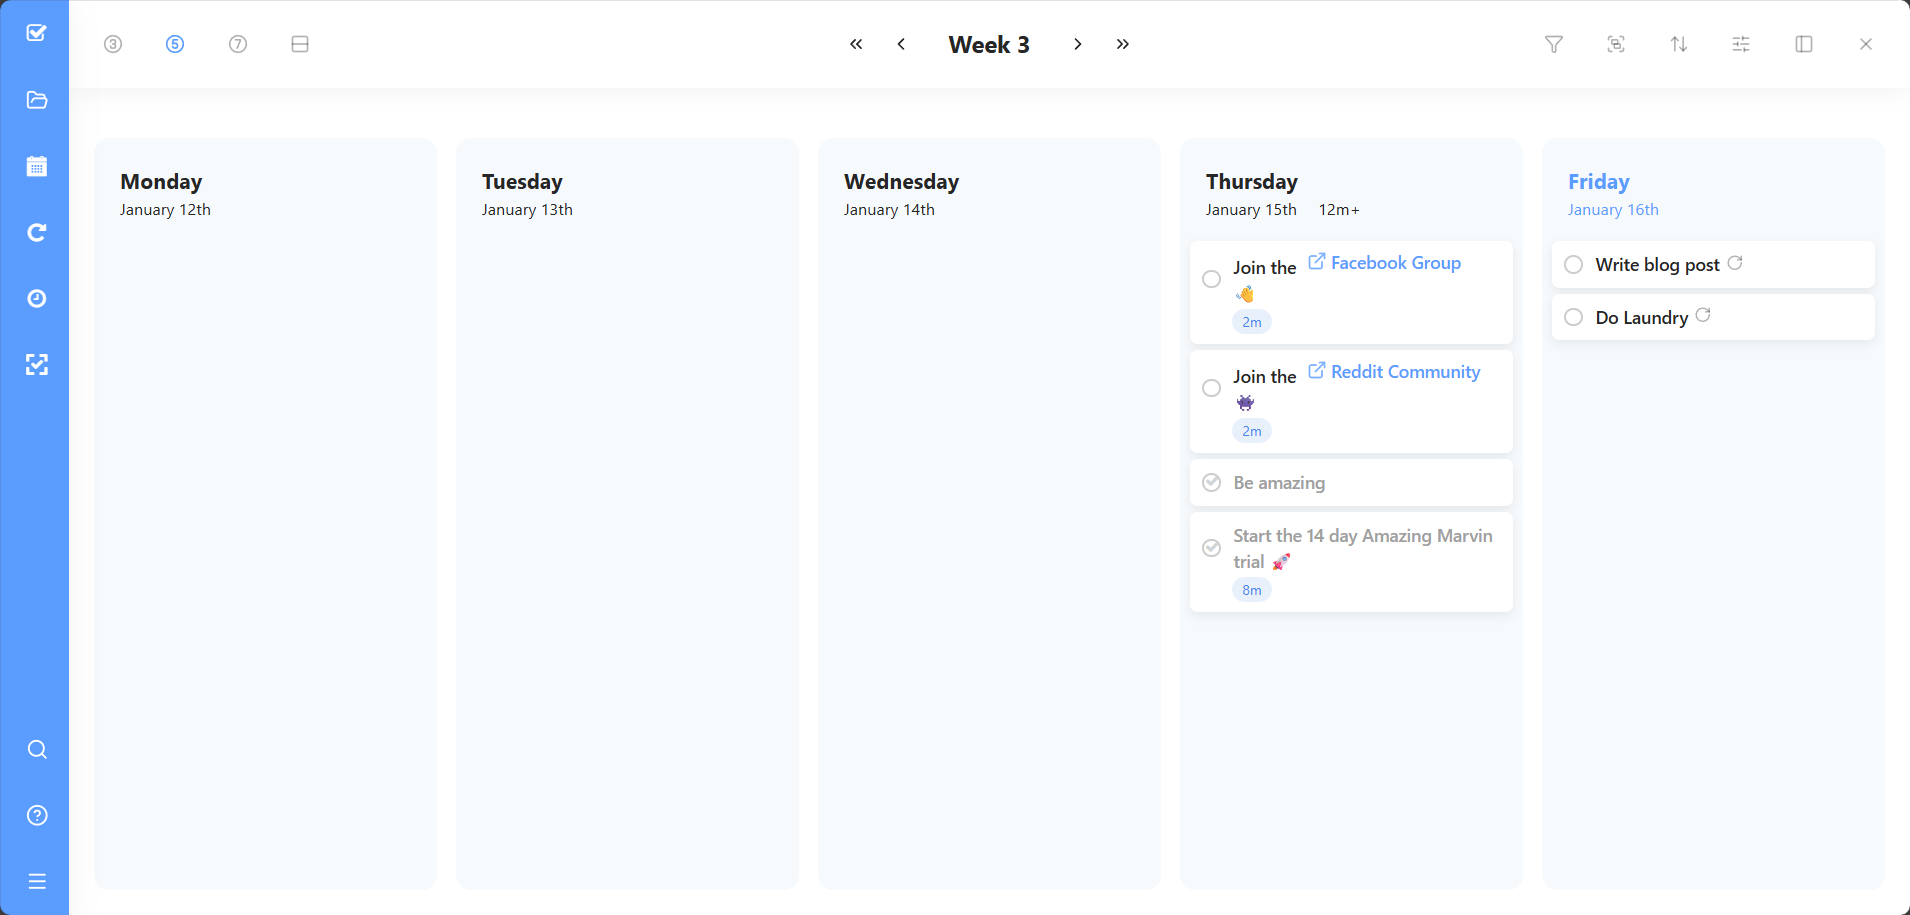
The week scheduler let's you see one week at a time with all the tasks you have scheduled for each day. To turn on the strategy, go to ☰ → Features/Strategies → Week Scheduler:
When you activate it, you will be asked how you want to access it within Marvin.
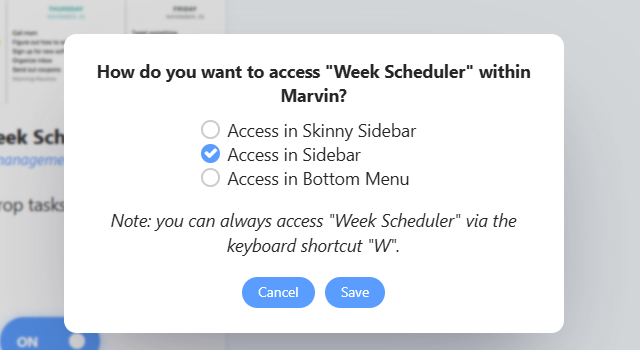
To get to the week scheduler you can always press "W" on your keyboard in the day view or click the "Week Scheduler" tab in the sidebar, if you added it there.
View customizations
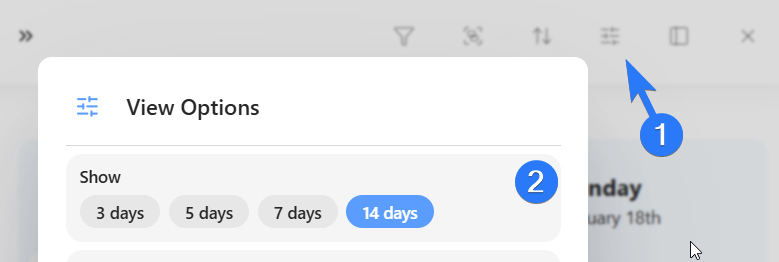
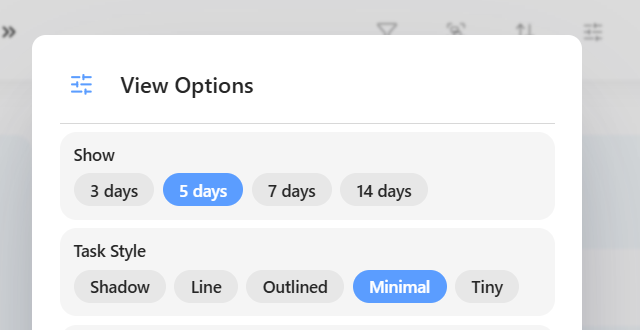
See 3, 5, 7 or 14 days at a time
Clicking the View options button (sliders icon) at the top right lets you choose to show 3, 5, 7 or 14 days at a time. You can also press the Up and Down arrow keys to switch between them.
Task Style
In View options you can also choose a Task Style (Shadow, Line, Outlined, Minimal or Tiny), the Column Border and Column Background, and whether to Open items in the Side panel or a Pop-up.
Show Events and All-Day Items
Use Show calendar events and Show all-day events to choose whether events and all-day items appear above your tasks. Turn on Show due tasks/projects to also see items on the day they are due.


Scheduling tasks in the week view
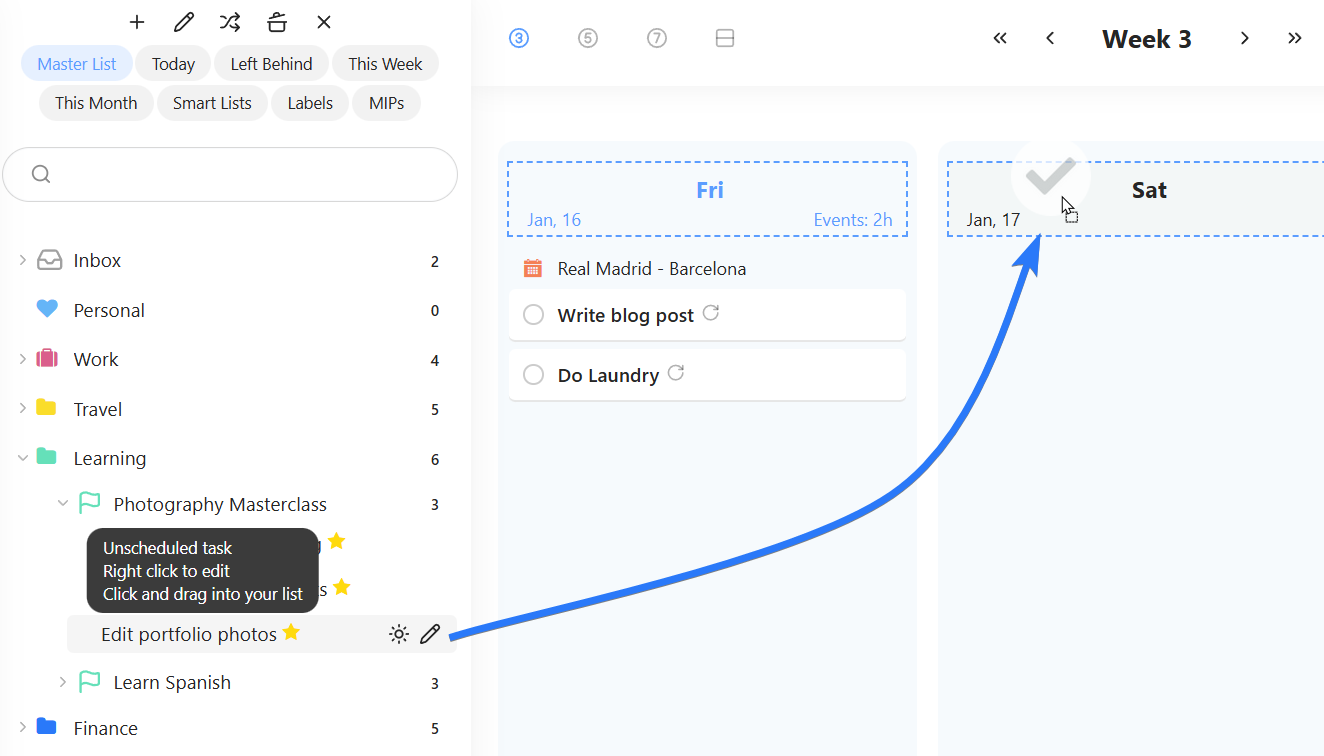
To schedule existing tasks from your Master List into your week, press "X" or click the sidebar icon at the top right to open up the sidebar. From there you can drag and drop tasks into your days/sections just like you can in the day view.
Adding new tasks in the week view
You can add/create tasks directly from the week view. Hover over the list header section to make the plus button appear and click it to add a task.

Editing minimizes tasks in the week view
To edit a task you can either edit the title and use task input shortcuts (#, @, due etc.) or right-click on the task to open up an edit menu. In the Hover Button Menu strategy settings (☰ → Features/Strategies → Hover Button Menu) you can turn off Quick Edit in Week View to see all your hover buttons.